When the seasons change to the cooler months, having access to a proofing box — which provides a consistently warm environment — can be the difference between success and failure. I struggled with my proofing for two years, keeping my dough warm in the oven using the low heat emitted by the oven light. But after a few close calls with the oven accidentally being turned on, I know how unsatisfactory these ad hoc proofing methods can be. Similarly, moving the dough round to a warmer part of the house (and then forgetting about it), or using a bowl of hot water in a microwave, are very rarely wholly successful.
I was gifted a Brod and Taylor proofer for my birthday, which I have found very helpful. It helps me to have more predictable timings because the ambient temperature is consistent and the dough can remain in a draft-free spot. When fermenting your dough in a proofer, it’s possible to maintain the optimum temperature that encourages yeasts to reproduce efficiently even whilst your ambient room temperature is below 75°F/24°C. However, the Brod and Taylor, or the newly released Sourhouse Doughbed, are not inexpensive pieces of equipment to add to your baking kit, and if I had known that I could make my own proofer with an apple box and a seedling germination mat, I could have saved myself a lot of trouble!
How to Make Your Own DIY Apple Box Proofer: Step-by-Step Guide
Create a simple and effective proofer for your sourdough using an apple box and a few household items. This homemade proofer will help maintain the ideal temperature for your dough to rise perfectly.
Materials Needed:
- Apple Box: A wooden or sturdy apple box to house your dough.
- Seedling Heat Mat: Provides gentle, consistent warmth.
- Tea Towel: Acts as a barrier between the heat mat and your dough.
- Heavy Towel or Baking Tray: To cover the box and retain heat.
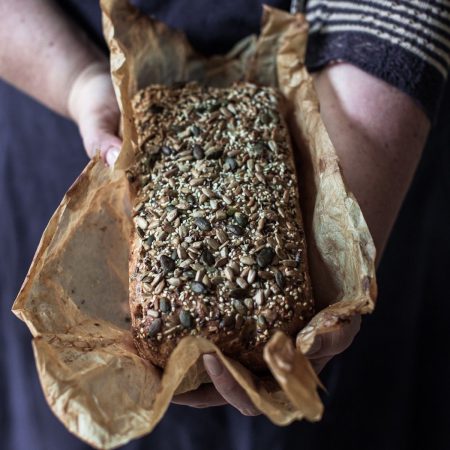
- Covered Bowl of Dough: Your sourdough ready for proofing.
- Optional: Wire rack (if you need to reduce heat intensity).
Step-by-Step Instructions:
- Prepare the Apple Box:
- Place the apple box on a stable surface where it can remain undisturbed during proofing.
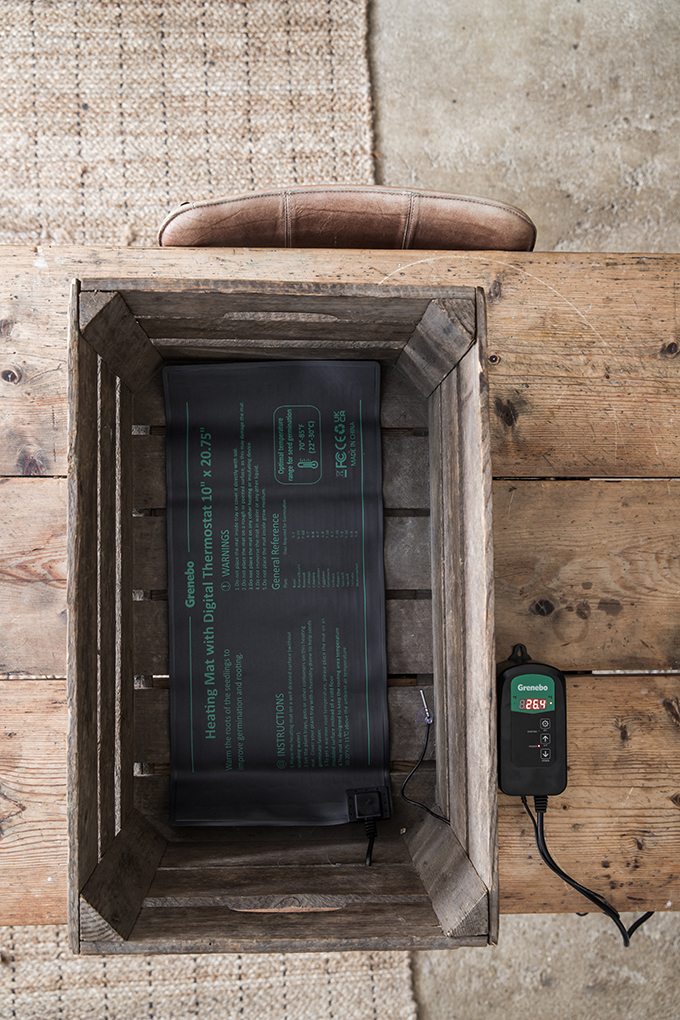
- Line the Bottom with the Seedling Heat Mat:
- Lay the seedling heat mat flat on the bottom of the apple box. Ensure it’s plugged in and functioning according to the manufacturer’s instructions.
- Cover the Heat Mat with a Tea Towel:
- Spread a tea towel evenly over the heat mat. This prevents direct contact between the heat source and your dough, providing gentle, diffused warmth.
- Optional Step – Use a Wire Rack (if needed):
- If you find the heat from the mat is too intense, place a wire rack on top of the tea towel.
- Lay another tea towel over the wire rack. This setup elevates your dough slightly, reducing the heat intensity.
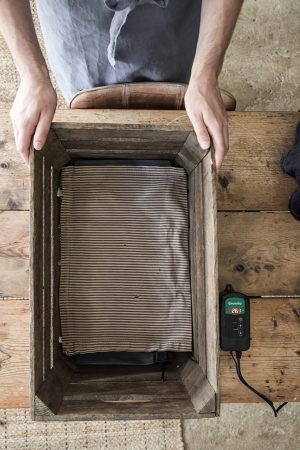
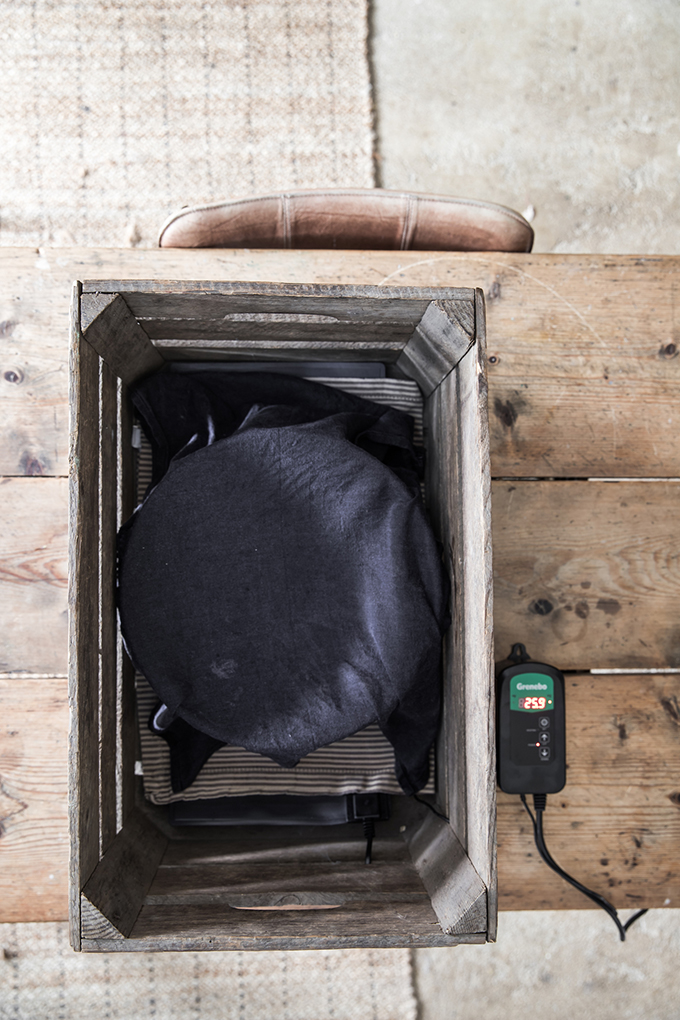
- Place Your Dough in the Box:
- Put your covered bowl of dough on top of the tea towel (or the tea towel-covered wire rack if you’re using one).
- Ensure the bowl is centered for even heat distribution.
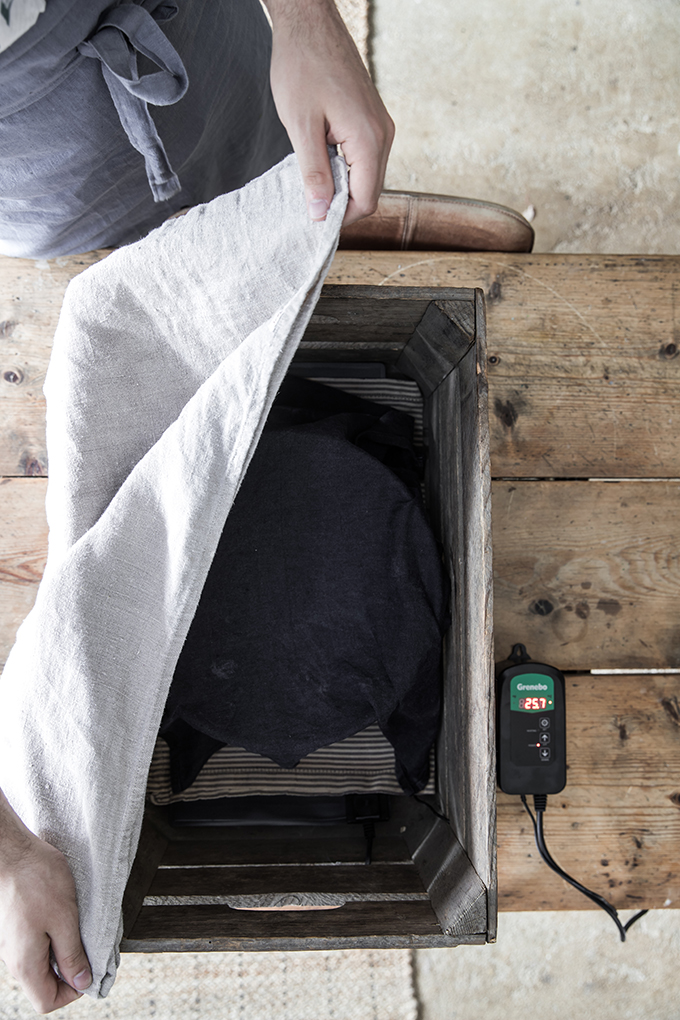
- Cover the Apple Box:
- Place a heavy towel or a baking tray over the top of the box. This helps to retain warmth and maintain a consistent temperature inside the box.
- Begin Proofing:
- Let your dough rest inside the proofer for the required time as per your recipe.
- Avoid opening the box frequently to maintain a stable environment.
Additional Tips:
Keep cords and electrical connections away from moisture.d controlled environment that promotes optimal fermentation for your dough. Happy baking!
Monitor Temperature (Optional): If you have a thermometer, you can place it inside the box to monitor the temperature. The ideal proofing temperature is between 75–85°F (24–29°C).
Adjusting Heat Intensity: If the dough is rising too quickly or slowly, adjust the setup:
Too Warm: Introduce the wire rack to elevate the dough and reduce heat.
Too Cool: Remove the wire rack to bring the dough closer to the heat source.
Maintain Humidity: For a humid environment, place a small bowl of warm water inside the box alongside your dough.
Safety Precautions: Ensure the seedling heat mat is suitable for continuous use and doesn’t pose any electrical hazards.

Things to note:
You do not need to set your temperature on the mat at 75°F/ 24°C.
The temperature can be a few degrees lower or higher to maintain the desired dough temperature.
Having a thermometer inside the proofing box is a good idea so that you can check the temperature inside the proofer, as well as testing the dough temperature You can also add a small dish of water to help with humidity for an even environment.
Leave a Reply